You’re heading to the summit of Haleakalā, camera in hand, ready to capture its otherworldly beauty. But this landscape presents unique challenges: extreme contrast, frigid conditions, and crowds. As a photographer who’s shot here at all hours, I can tell you that a little technical know-how and creative thinking will separate your snapshots from stunning shots. Here’s how to nail it.
Understand the Light: It’s Your Biggest Challenge and Ally
The summit is a study in extremes. At sunrise or sunset, the dynamic range between the bright sky and dark crater is immense. During the day, the high-altitude sun creates harsh shadows. The key is to work with these conditions, not against them. Planning your shots around the quality of light is more important than any fancy gear.
The Biggest Mistake: Chasing the Sun Alone
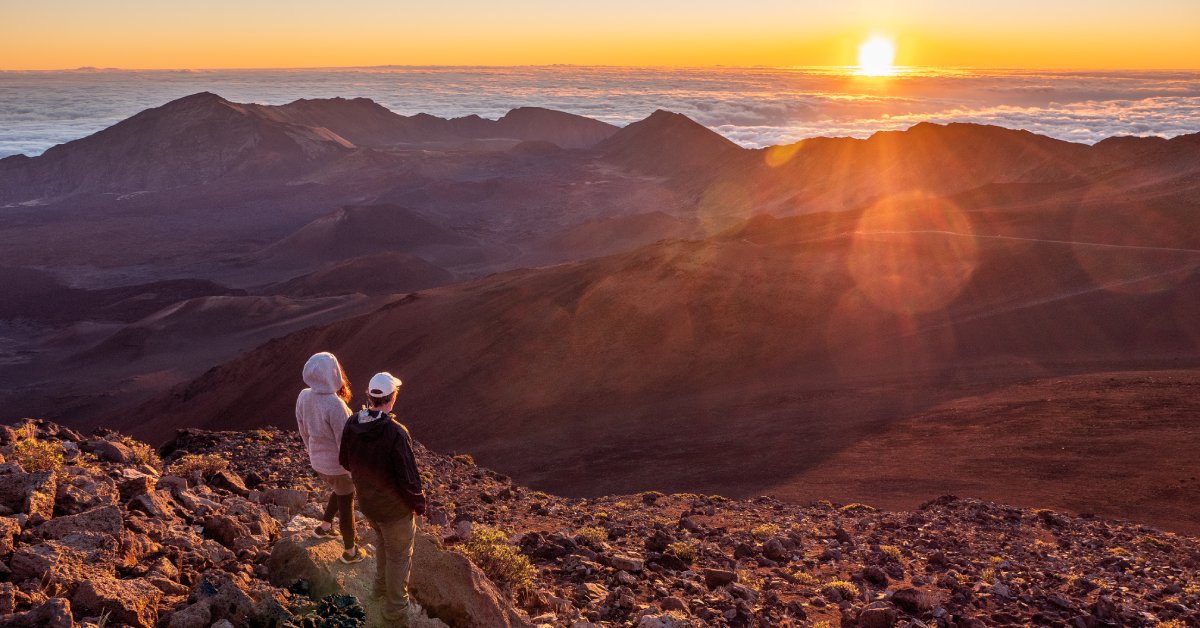
Everyone points their camera at the rising or setting sun. While that can be dramatic, the real magic often happens in the opposite direction—the warm alpenglow painting the clouds below you, or the soft sidelight revealing the texture of the crater. Your best photo might be behind you.
A Pro’s Golden Hour
The hour after sunrise is my favorite time to shoot. The crowds have thinned, the light is softer and more directional, and the entire crater glows with warm tones. This is when you can capture the intricate details of the cinder cones and the unique silversword plants without the harsh midday contrast.
Your Haleakalā Summit Photography Toolkit
- Stability is Non-Negotiable: Use a Tripod. For sunrise/sunset and any low-light situation, a sturdy tripod is essential for sharp images. It also forces you to compose deliberately. In the constant wind, use your body as a shield or hang your camera bag from the tripod hook for extra stability.
- Conquer the Contrast: Bracket Your Exposures. Use your camera’s Auto Exposure Bracketing (AEB) to take 3 or 5 shots at different exposures (e.g., one dark, one correct, one bright). You can blend them later for a perfectly balanced image, or simply ensure you have one usable shot where the sky isn’t blown out.
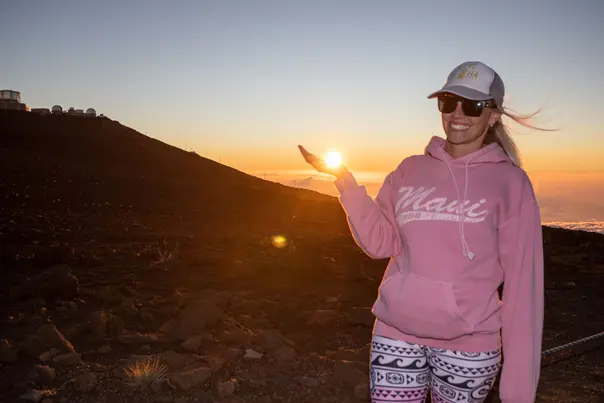
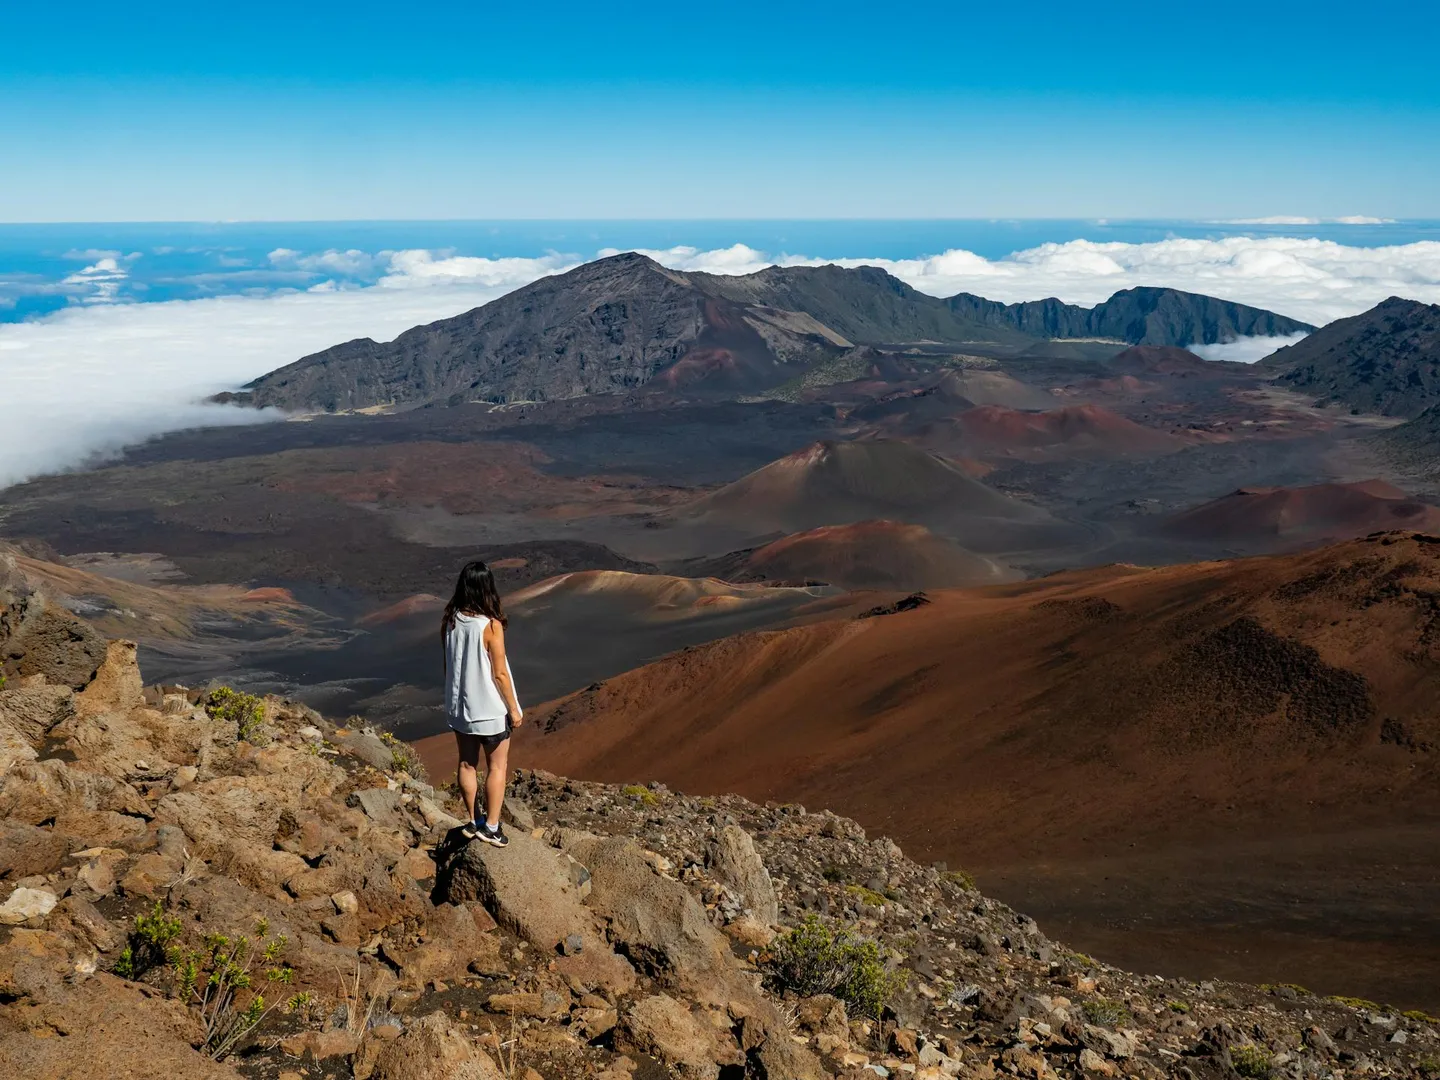
- Tell a Story: Include a Human Element. Use silhouettes of people against the vast landscape to add scale and emotion. Frame a companion looking out over the crater, or capture the bundled-up crowd witnessing the sunrise—it adds a narrative that a pure landscape shot often lacks.
- Protect Your Gear from the Cold: Batteries die fast in the cold. Keep spares in an interior pocket, close to your body. Put a fresh, warm battery in right before you start shooting. Bring a microfiber cloth to wipe condensation off your lens.
- Compose for the Crater: Don’t just shoot a wide shot of the whole vista. Zoom in. Find leading lines in the trails, focus on the colorful layers of the cinder cones, or get a close-up of the frosty, sparkly texture of the volcanic rock at sunrise. Details are powerful here.
Focus on the Shot, Not the Logistics
Managing camera gear in freezing pre-dawn darkness after a stressful drive is not ideal. On our guided summit tours, we handle the reservations, the driving, and provide the warm gear. You can concentrate on setting up your composition and being present for the fleeting light, ensuring you come away with the photos you dreamed of.
Capture the memory, not just the view. Book a photography-friendly summit tour with Hawaii By Storm and get the shot.